Cake pops have to be the most versatile dessert ever. You can decorate them and flavor them a million different ways. You can leave out the sticks and turn them into “cake truffles” or “cake balls”. They are ready-to-eat in perfectly portioned sphericals and darn it if they just don’t make everyone happy!
I LOVE cake pops. I don’t have all the fancy cake pop makin’ gadgetry – just do a search for cake pop molds on Amazon and you’ll find all kinds of goodies to make your cake pop making experience much more “professional” and supposedly easier too. But I don’t use any of that stuff. Would I like to? Yes. But I don’t really have the space to store said stuff and I really really don’t need any more excuses to make cake pops more often.
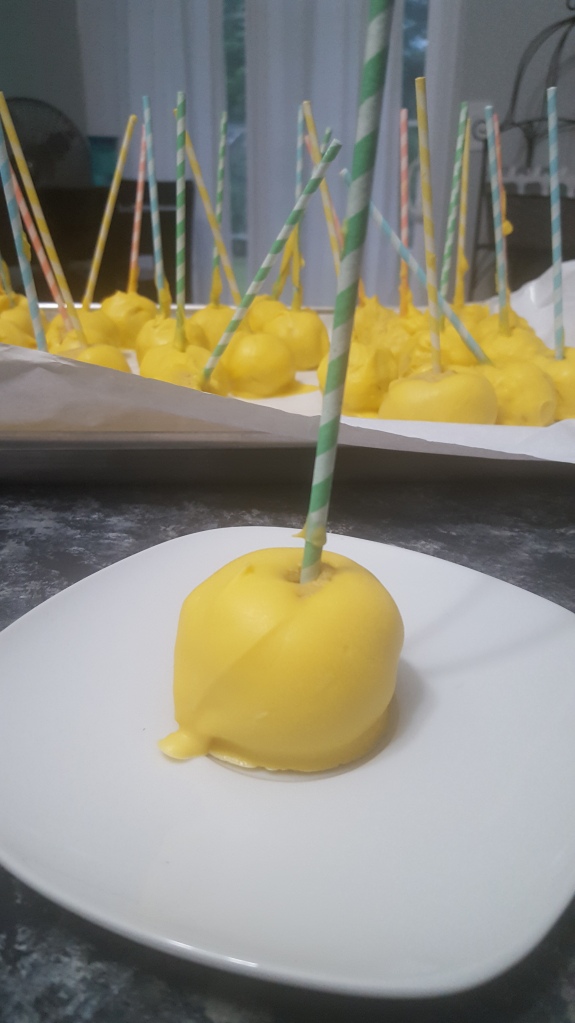
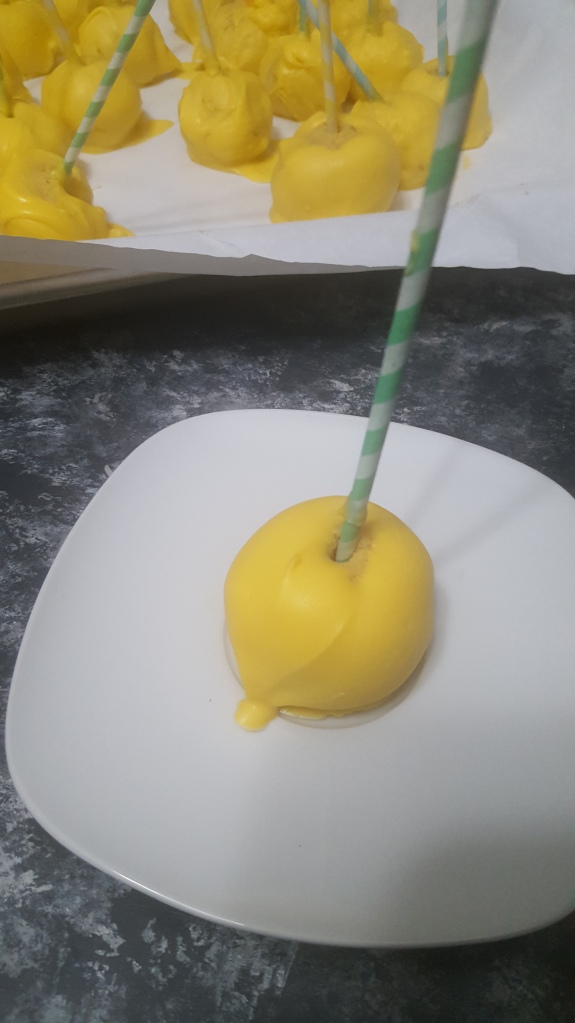
If you want to use the gadgetry, by all means, go right ahead! But if you don’t have the fancy tools, you CAN still make yummy cake pops fairly easily! We made these lemon cake pops for summer solstice this year and 5 days later they were all gone!
WHAT YOU’LL NEED
- yellow cake mix plus ingredients on box (eggs, oil, water)
- LorAnn lemon oil
- 16oz yellow candy coating (vanilla flavored) – like these
- vanilla buttercream icing
- cooking spray/oil
TOOLS
- 9×12 baking dish
- large mixing bowl
- hand mixer
- rubber spatula
- cookie sheet
- wax paper/freezer paper
- double boiler, or 1 medium pot and 1 small pot
- cake pop sticks – i.e. paper straws, bamboo skewers, etc.
- cake pop stand (commercial or DIY)
INSTRUCTIONS
- Prepare cake batter as instructed and add 1 vial of LorAnn lemon oil to batter. Bake as directed. Be sure to coat your baking pan with oil/cooking spray!!
- Allow cake to cool completely then turn out in pieces into the mixing bowl
- Mix in icing 1 spoonful at a time until cake is able to be formed into balls. You want the consistency of the resulting “dough” to be moist enough that the cake balls do not fall apart. If you add too much icing, the balls will too soft to stand upright on the sticks – so just ditch ’em! The cake balls will still taste yummy, they’ll just be a bit softer in the middle. 😉
- Form the “dough” into 1 inch balls, insert sticks, and place on cookie sheet covered with wax or freezer paper. Freeze for 1-2 hours.
- When the cake balls have frozen and are firm, assemble the double boiler (or use the 2 pot method).
- Melt candy coating in the double boiler/top pot, over medium heat, stirring constantly to avoid burning/seizing.
- Carefully dip each cake pop into the melted coating. Either return the dipped cake pop in a standing position to the wax paper (you will have a flattened “top”) or place pop in a stand. (Tip: Sytrofoam lids, cardboard boxes, and some colanders make easy impromptu stands.)
- Place finished cake pops in the refrigerator and allow coating to cool completely.
- Eat and Enjoy!
This is a pretty basic recipe. Experiment with different cake flavors and icing combos and add sprinkles or an icing drizzle or even fondant flourishes to make your own special cake pops!
And don’t stress if they don’t turn out perfectly – several of ours had some less than perfect candy coating (I let hubby and the kids dip them), it’s whatever. I don’t claim to be a “Pinteretst perfect” mom, so what you see in our pics is never a doctored up reality 😉 IMO, it’s the experience and memory-making that matters.
XO,
Marissa