Easy Fall Leaf Print Art Project

Easy Fall Leaf Print Art Project

What’s a better way to learn about different trees / leaf patterns than this esay leaf print project?

All you need are leaves of various shapes and sizes, acrylic or tempura paunts, brushes, and a printable surface (we chose a small canvas, but you could also use t-shirts or tote bags!).

We gathered our leaves from our backyard, but you could gather them really anywhere during the fall! Special places or on a nature walk… Try gathering both deciduous and coniferous leaves! Just make sure you choose leaves that arent too brittle or they will break and crumble when you try to press them down.

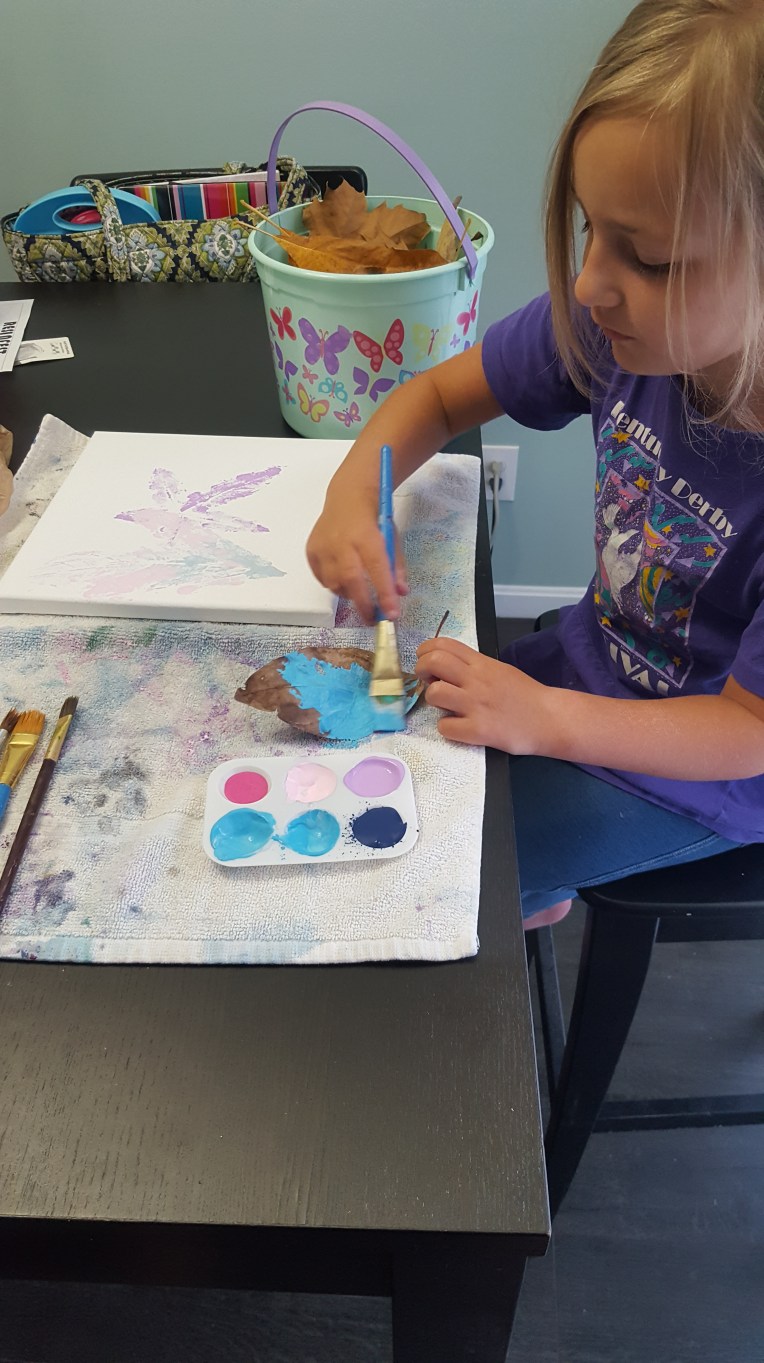
Once you have your leaves, evenly paint the underneath side of the leaf to get all the vein patterns. You want a thin wet coat, no glops or it won’t show the print very well.

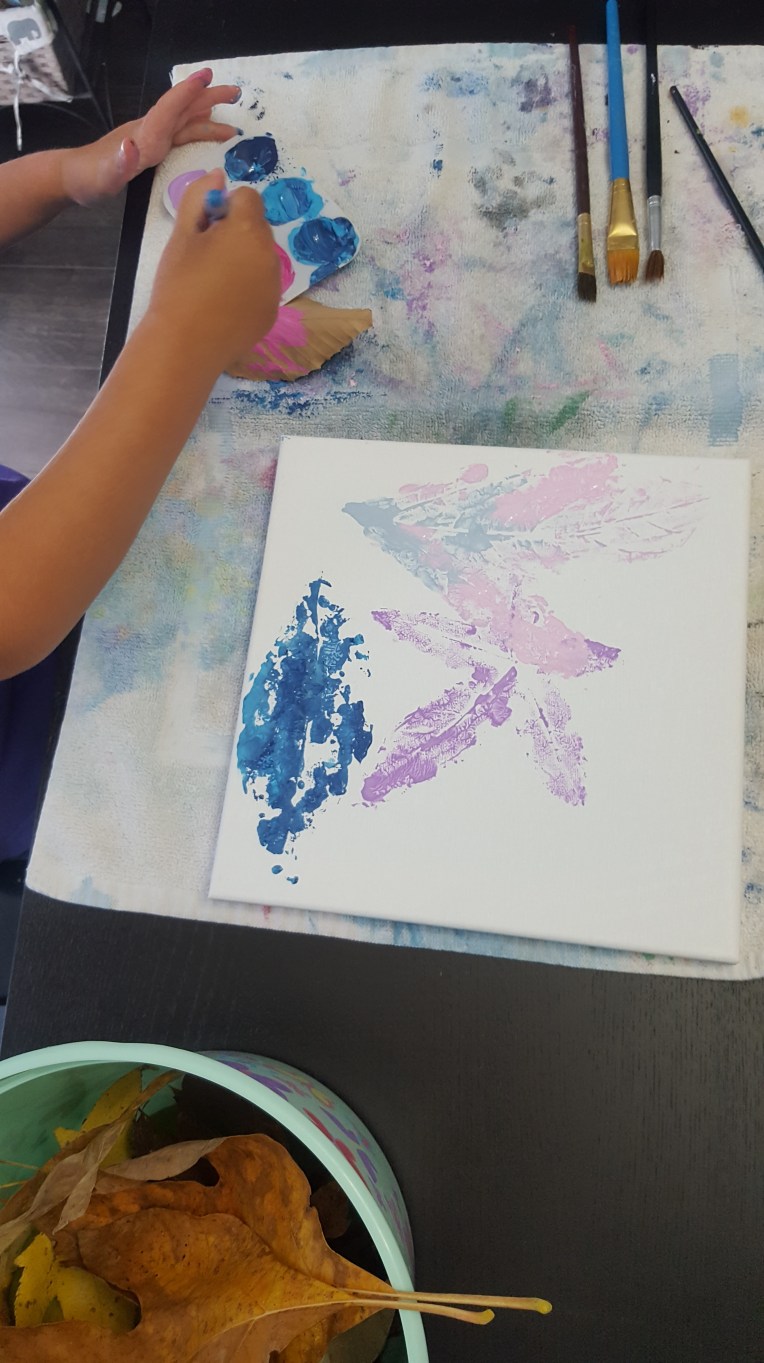
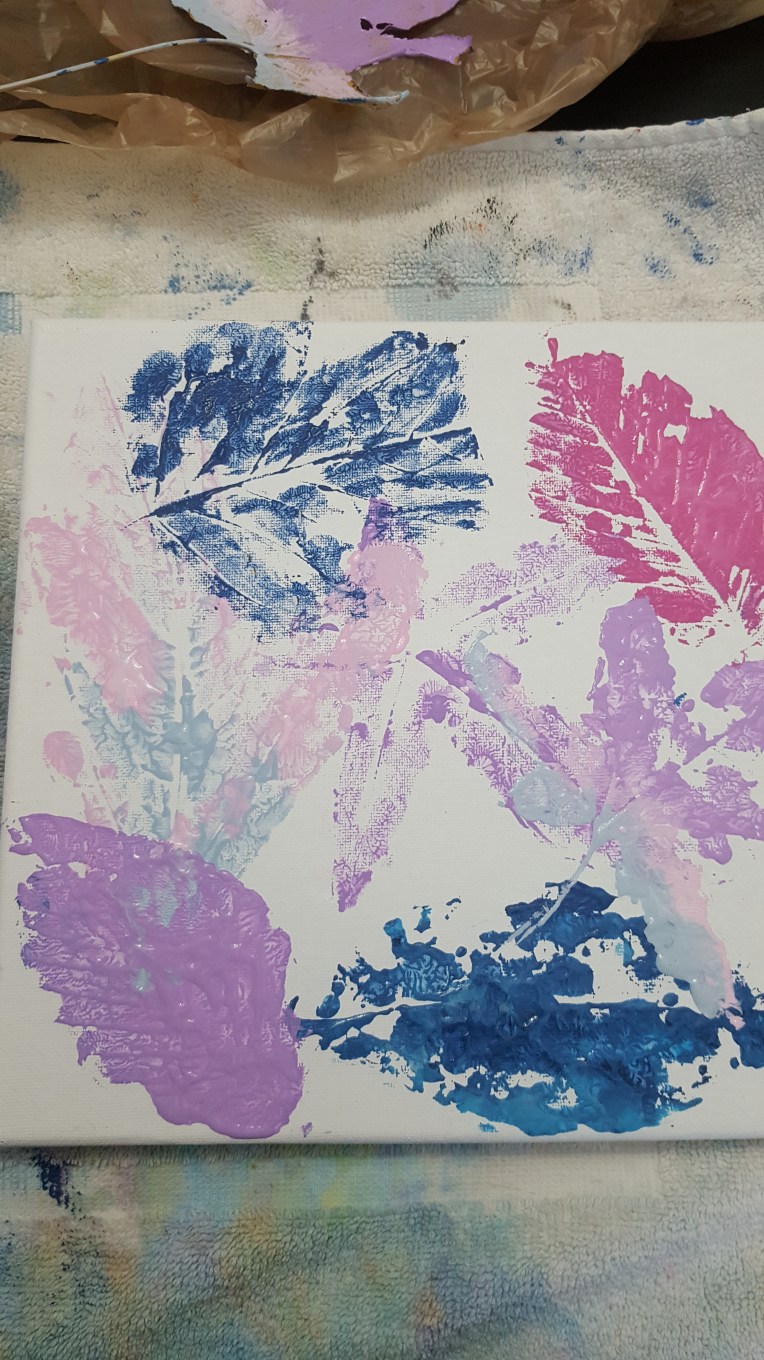
Position your leaf painted side down and lightly press/rub from the stem outward towards the tips, being caregul not to scoot the leaf across the surface of the canvas (or t-shirt, paper, etc.)

Then, gently peel the leaf upward from its stem and voila! You should have a leaf print!

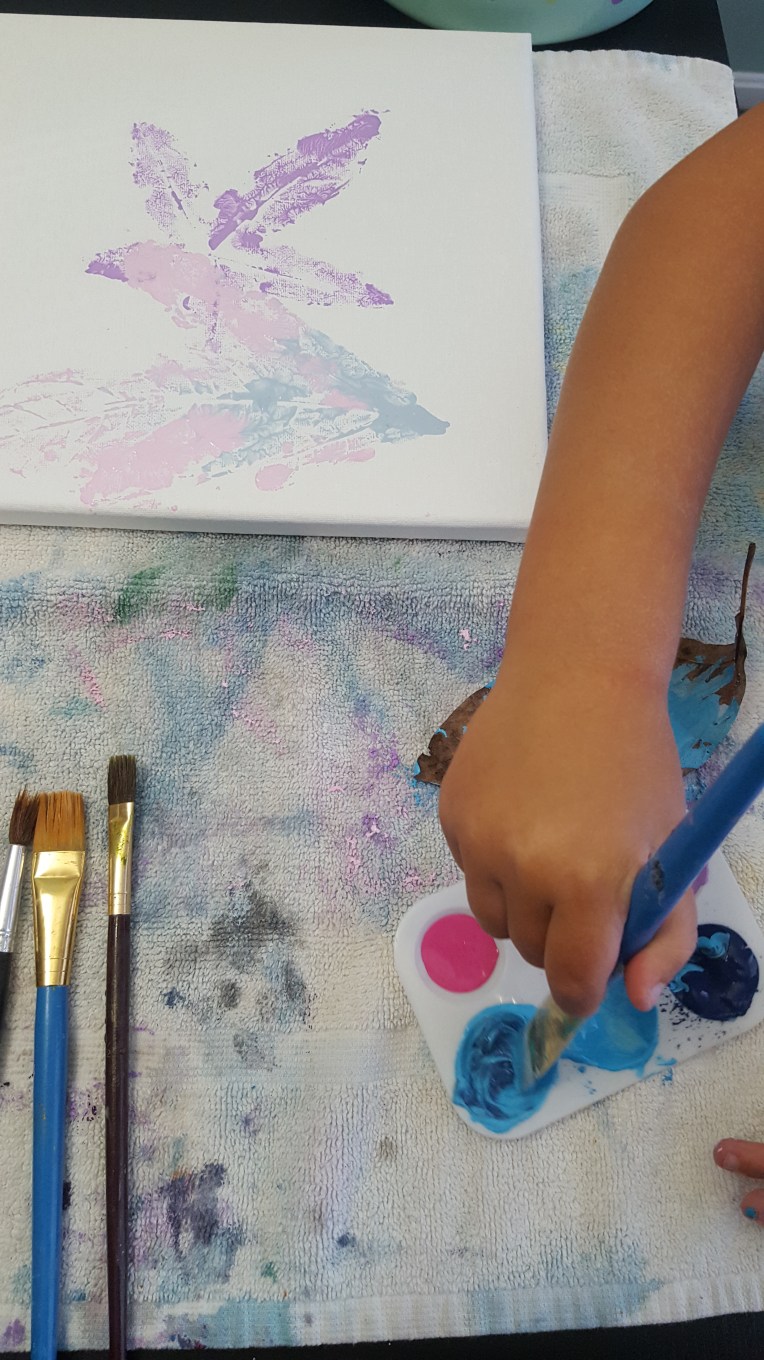
Try painting patterns or multiple colors on a single leaf for more artsy prints. Also, don’t be afraid to let the prints overlap!

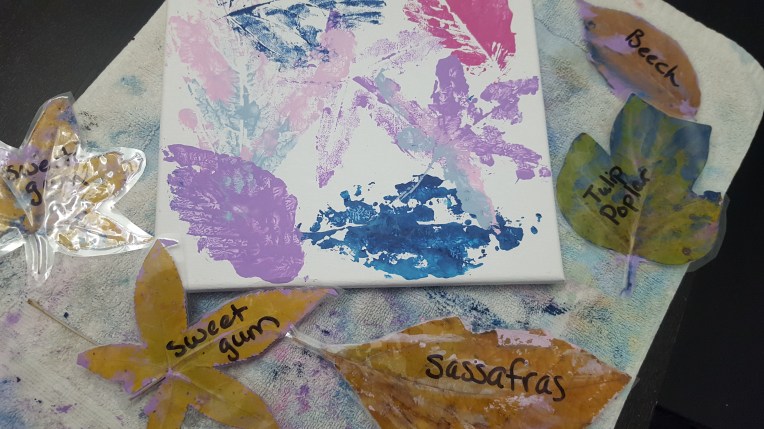
Experiment and have fun. Try to identify the trees each leaf came from, talk about the differences you see in the leaf patterns, etc.

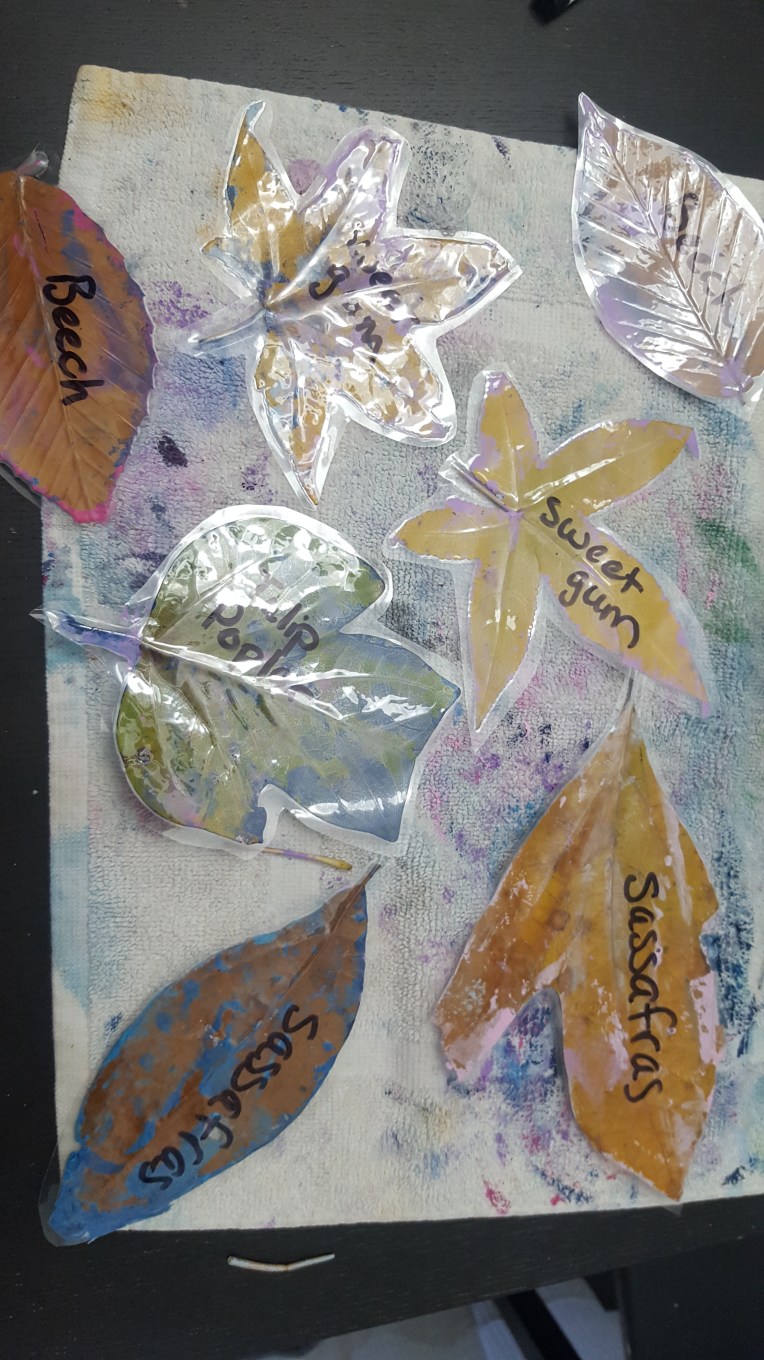
Once we were done with our leaves, we let the re-painted and let the leaves dry, then ran them through oyr laminator. We cut out around their shapes and, with the help of Facebook and Google, identified each leaf’s tree and wrote its name on the unpainted side in Sharpie for my daughter’s nature collection (and educational purposes)!

DIY Eco-Friendly Bird Feeders

For one of our Summer Solstice activities, we made these easy, eco-friendly, bird feeders! They are eco friendly because every part of the feeder is bio-degradable/natural!

This craft takes literally minutes to do, making it a perfect activity for those who have little time or small attention spans!! (ahem, my child.) If you’re going to let little ones do the cutting (hello fine motor skills!), you should definitely use a kid’s safety knife. We have this set and LOVE it!

SENSORY TIP: For avoiders, have baby wipes handy or have them wear gloves, as this activity can be a bit sticky. I know my daughter HATES that sticky feeling!

What you’ll need:

  • Navel Oranges or Grapefruits (large fruits with thick skin work best!)
  • Wild Bird Seed
  • String made from natural fibers (yarn, twine, etc.)
  • Tools:
    • Small Knife (or kid’s safety knife)and Cutting Board/Mat
    • Bowl
    • Spoon
    • Scissors
    • Pencil/Screwdriver (something to poke holes with)
    • Ladder (to help you hang the finished feeders!)

Instructions:

  1. Cut each orange (or grapefruit) in half. Make your cut in the widest part of the orange, not from navel to navel.
  2. Using a small knife, cut around the flesh to loosen it from the pith and rind. Do this carefully so you don’t rip or puncture the rind. We need that part to be intact!
  3. Scoop out the flesh with a spoon and place in a bowl. Set aside for juicing, eating, or baking!
  4. Using a pencil or screwdriver, puncture two holes on either side of the hollowed out rind. Place these holes at least a half centimeter below the rim of the “bowl” you have created.
  5. Thread 1 string through each hole and tie securely to the orange rind.
  6. Fill the bowl with wild bird seed.
  7. Hang outside!

To extend this activity, you could use this as an opportunity to discuss the parts of an orange or how they are grown.

If you don’t want to eat or juice the orange pulp, try replacing all the wet ingredients in a yellow box cake mix with orange juice for a fresh summery take on cake! Or check out THESE other orange recipes.

Happy Summer-ing!
M